Your Cart is Empty
Order Pantera2 now on InDemand >>

There are many reasons to use Linux, and Ubuntu is one of the most popular operating systems for those who want to try diving into Linux, or for those who simply wish to dual-boot another OS on their computer along with their Windows installation.
Here, we present to you step-by-step instructions on how to try out Ubuntu Linux on your Pantera Pico PC. This blogpost is going to be long, as it is meant to help those who are just starting out. Best of all, all downloadable files with links found on this page are completely free.
First off, you will need a few things before you can start using Pantera with an Ubuntu Linux operating system.


Make sure you have the right drive selected, and see if the capacity matches your flashdrive.
Choose FAT32 in the File system drop-down menu, leave everything as is, then click on “Start.”

Double check that you have the right drive letter. WARNING: Pay attention to the drive details on this screen. Do this part at your own risk. You can irreparably delete the contents of your main drive if you don’t pay attention to which drive you are formatting. You should only format the target flashdrive.
Once sure, click OK.


Click on Save File.
On Windows, the file will be saved on the Downloads folder. Navigate to it and move it to a folder on your Desktop for easy access later, and give the folder a name, like, Ubuntu Installer.


Currently there are 2 latest versions for you to choose from, Ubuntu 20.04.2.0 LTS, and Ubuntu 21.04 (shown above).
If you don’t know which to choose, I suggest the first one (LTS) and be done with it.
The downloaded file will also be in your Downloads folder so just cut and paste it into the same folder as the Universal USB Installer.
Windows will ask you “Do you want to allow this app from an unknown publisher…”
Click Yes.
After reading the License Agreement, assuming everyone reads these, click on “I Agree.”

You will be greeted by this screen. You can skip the first step, go to Step 2 and click on the “Browse” button on the right. Navigate to the folder you created earlier, and double-click the Ubuntu ISO file.

Next, plug your USB flashdrive into a vacant USB port on your Pantera and go to Step 3: Select the drive letter of your flashdrive.
Make sure you have the right USB drive letter by checking on your Explorer window.
Click Create.

Click Yes on this screen.

Also click Yes on the next screen, then let it finish its job.

Once completed, just close the window and eject the drive to proceed to the next step.
ENTERING THE BIOS SETUP
There are 2 ways to go there.
One is by repeatedly pressing the DELETE key on your wired keyboard while your computer boots up.
The other is, if you still haven’t powered it down yet:
On Windows, go to Start, then Settings, then scroll all the way down and click Update & Security.
Next, on the left hand side, choose Recovery.
Lastly, on the right, choose Advanced startup, click Restart now.

Your Pantera Pico PC will restart.
In “Choose and option” click Troubleshoot, next Advanced Option, then UEFI Firmware Settings, then click RESTART on the next screen.
Your computer will then restart into a blue setup screen, Bluetooth is off so no wireless devices work at this stage.
Welcome to the BIOS menu.
Here, only a wired keyboard is needed to navigate these settings.
Use your arrow keys to go to the Boot tab.
Tap the arrow down key to Boot Option 1… press Enter, then choose your USB flashdrive, hit Enter again.

Tap the arrow down key to Boot Option 2… press Enter, then choose "Hard Disk: Windows Boot Manager (P1: M.2 2280 SATA SSD)"

Also, while you're there, DISABLE Fast Startup.

So all your Boot settings will look like this:

Now tap the right arrow to get to Save & Exit, press Enter on the first option: "Save configuration and exit?"
Choose "Yes" and your computer will reboot into Windows for now.
Insert your USB flashdrive into one of the USB ports, then restart your computer so it will start to boot from your USB flashdrive.
Your computer will restart, and it will show you an option to boot into Ubuntu: It will ask you “Try Ubuntu” or “Install Ubuntu”

Since either you're trying it out, click Try Ubuntu so you can play around first or just check out what all the fuss is about, before actually installing the full operating system when you decide to do it.
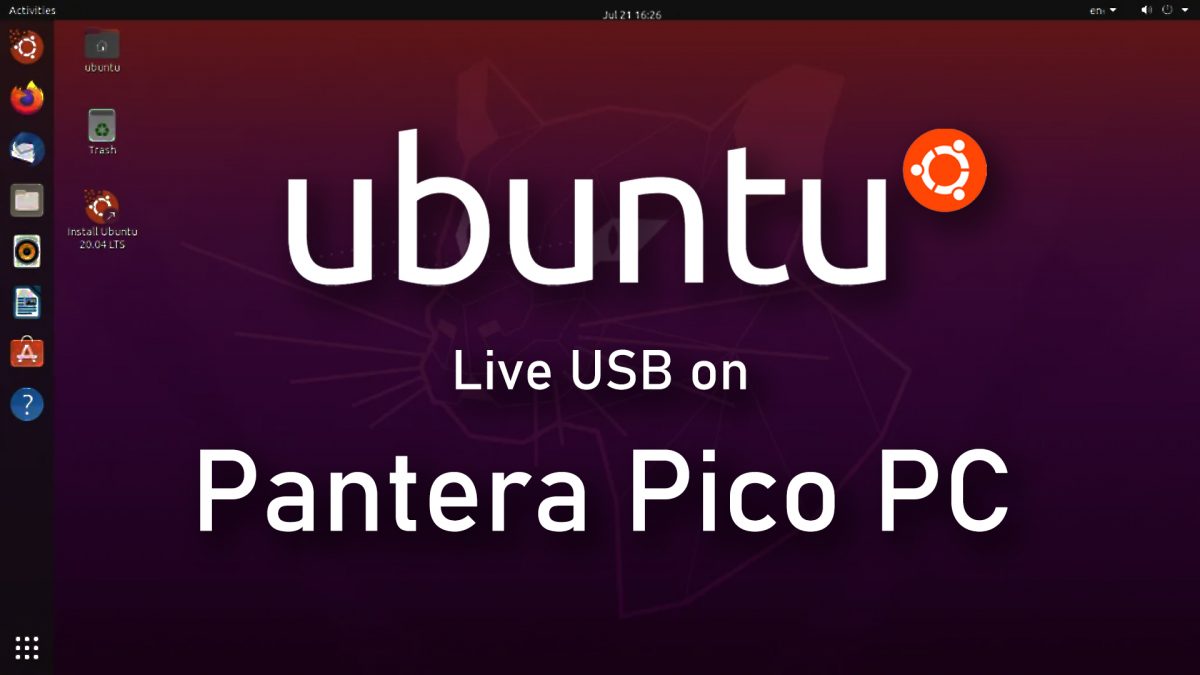
[caption id="attachment_1739" align="alignnone" width="1200"] This is how the Ubuntu desktop running from a Live USB looks like.[/caption]
It will function as if it were actually installed, so familiarize yourself with the graphical user interface, connect it to the internet, explore the apps that come pre-installed. Just remember, everything you do here will not be retained when you power down your computer or when you exit this live USB mode.
When you're ready and have decided to keep using Ubuntu, click the "Install Ubuntu" icon found on the desktop...
...but or now, as this has already been a long tutorial, instructions for the full desktop installation will be for Part 2.

If you feel that Ubuntu isn't the Linux operating system for you, just go to the top right hand corner and shut down the system.
Remove the USB flashdrive when instructed and your computer is back to its normal state again.
There is almost a thousand Linux versions out there, and the number of gorgeous-looking desktop environments is more than I can count, almost all of them are absolutely FREE. One of my personal favorites lately is Linux Mint.
Mint is closer to Windows when it comes to look-and-feel, and the menu placements will be immediately familiar to you. You can try it out using the same procedures as above, using the Universal USB Installer.
Remember, with a Live USB, your computer will remain the same way for as long as your Linux flashdrive is not in the USB port during bootup.
So, which features of Ubuntu Linux did you like, and which features didn't make it to your "thumbs up" list.
Let us know in the XDO forums how your first experience was!
Part Two: Instructions for Full Installation of Ubuntu Desktop. COMING SOON!